Deploy a model on the EOSC EU Node
Requirements
This tutorial requires access to the EOSC EU Node and the usage of available credits in your account.
This tutorial summarizes how to deploy a pre-trained AI model from the AI4EOSC Marketplace in the EOSC EU Node, to be used for inference via the DEEPaaS API.
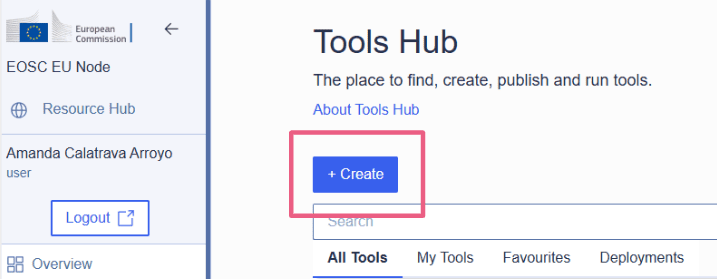
For this, we will use the Tools Hub functionality of the EOSC EU Node, which allows us to deploy customized virtual infrastructures via TOSCA Templates on the available Cloud resources. The Tools Hub currently supports two deployment options:
Option |
✅ Pros |
❌ Cons |
|---|---|---|
Container (OKD-based) |
|
|
Virtual Machine (Openstack-based) |
|
|
Based on your requirements, you can select the one who best fits your usecase.
Option 1: Deploy in a Container
ㅤDeploy in AI module in the EOSC EU Node (containers)
Please, be aware that video demos can become quickly outdated. In case of doubt, always refer to the written documentation.
1.1. Allocate the computing resources
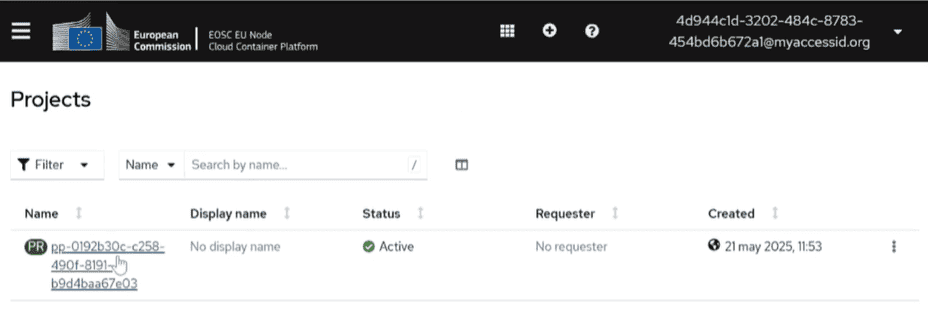
You need to create your “Default Personal Project”. For this:
Login into the EOSC EU Node,
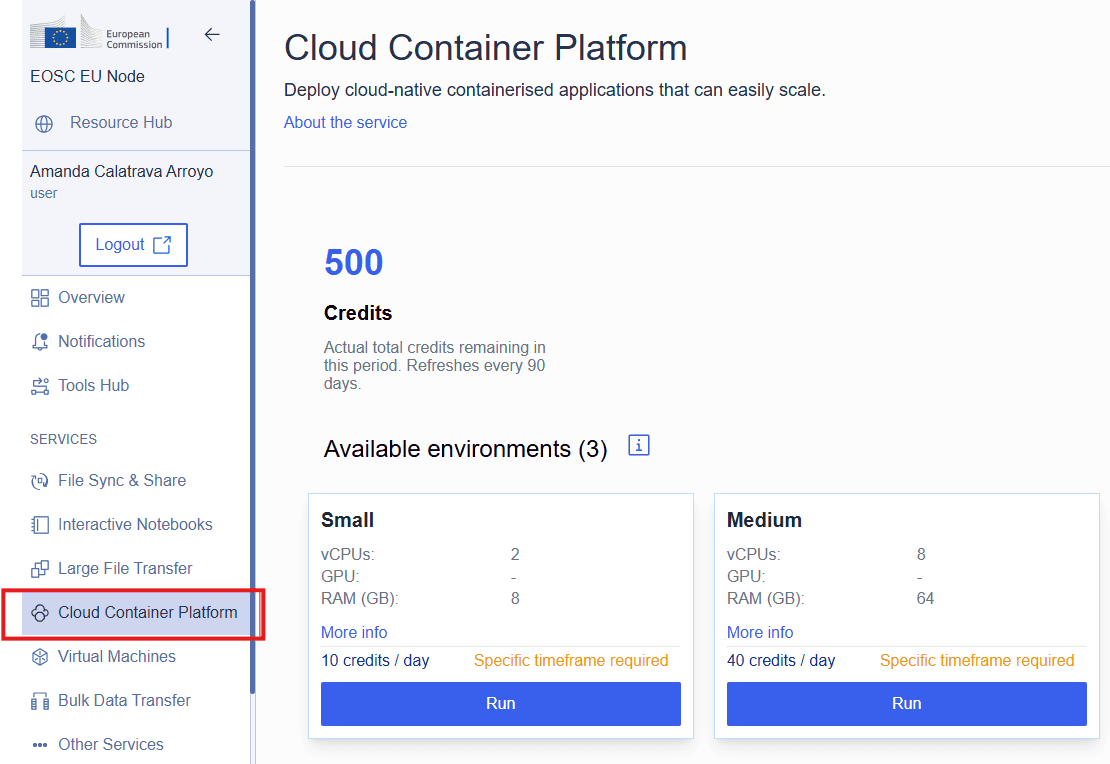
In the
Cloud Container Platformsection (left panel), chose the Small environment by clickingRun. OKD reserves the corresponding quota for your user,Choose the time period and press
Submit.
Notice that in this step what you do is to allocate the resources (quota), but you are not actually deploying them.
1.2. Deploy your tool
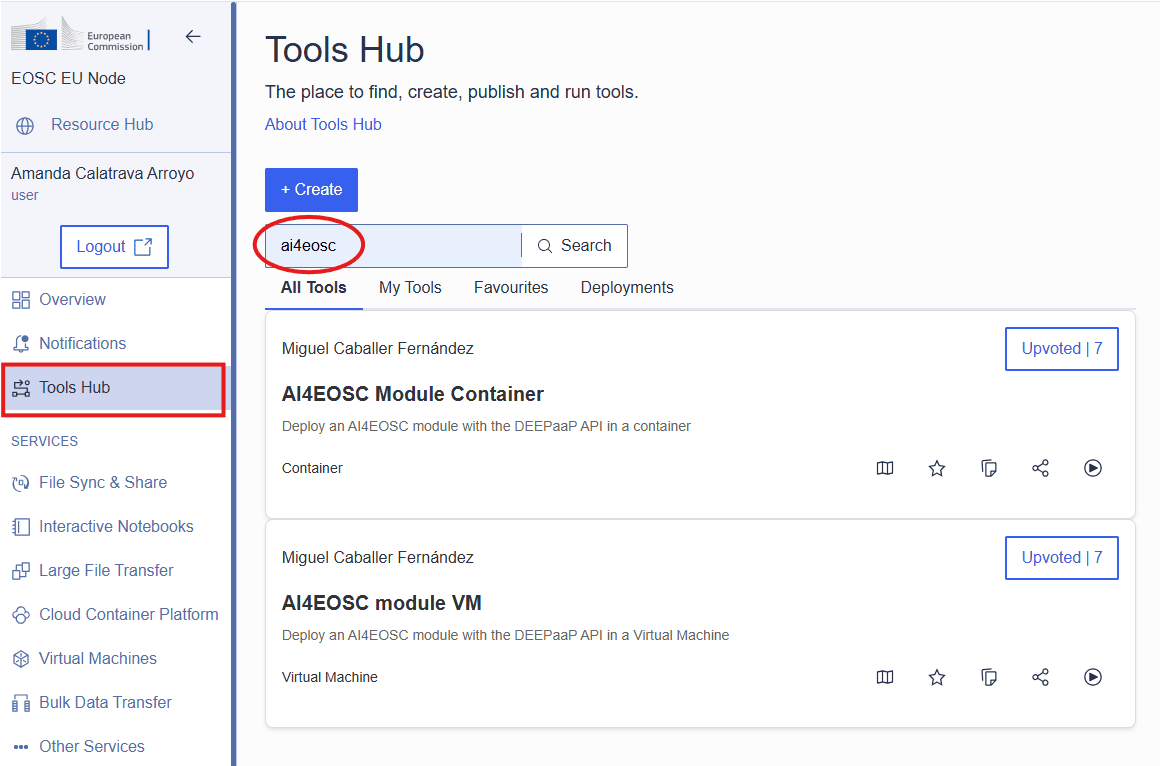
In the Tools Hub section (left panel), search for AI4EOSC and select the AI4EOSC Module Containers (uploaded by platform developer Miguel Caballer).
Clicking the Show details button, you will be able to see additional information about the tool.
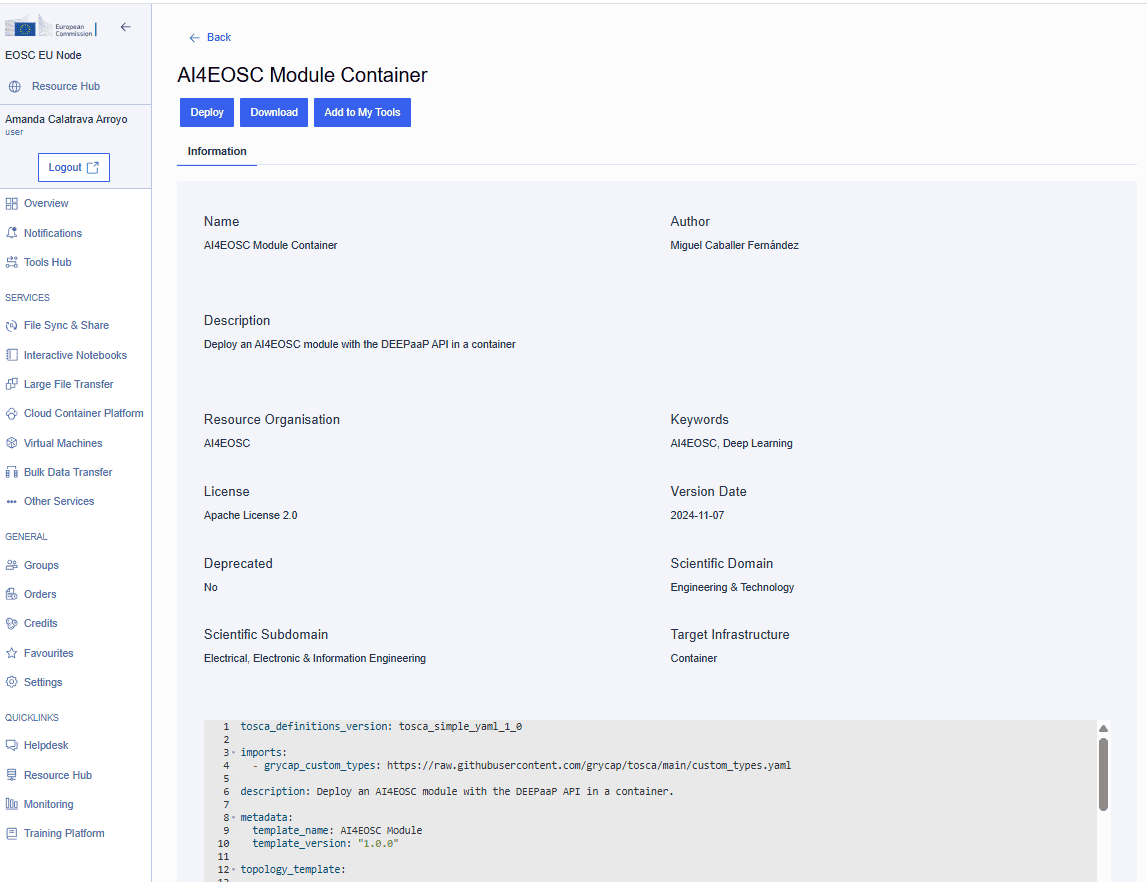
Deploy it using the Play button.
You can set custom input values by selecting customize input values and save to new tool checkbox. This allows to configure the deployment parameters, in particular:
the docker model image (available in the Docker value in the Marketplace module details)
the amount of resources (CPU and RAM)
the endpoint where the model will be exposed
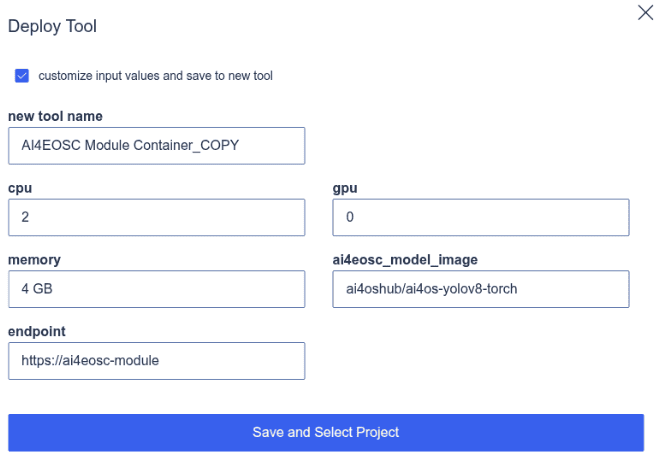
Then click on Save and Select Project. This will create a new tool in your private My Tools tab, that you can use for new deployments.
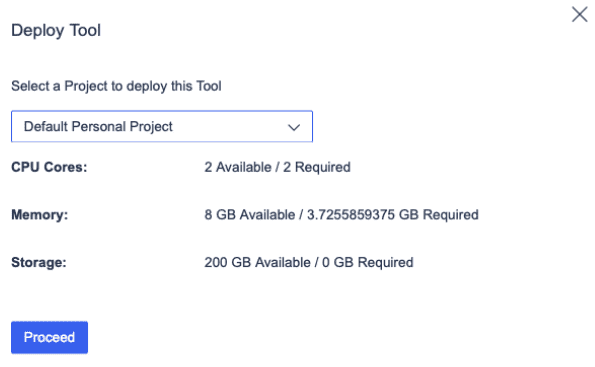
Next, you need to select the “Default Personal Project” created in Step 1, which is linked to the allocated OKD project, and click on the Proceed button.
1.3. Access the tool
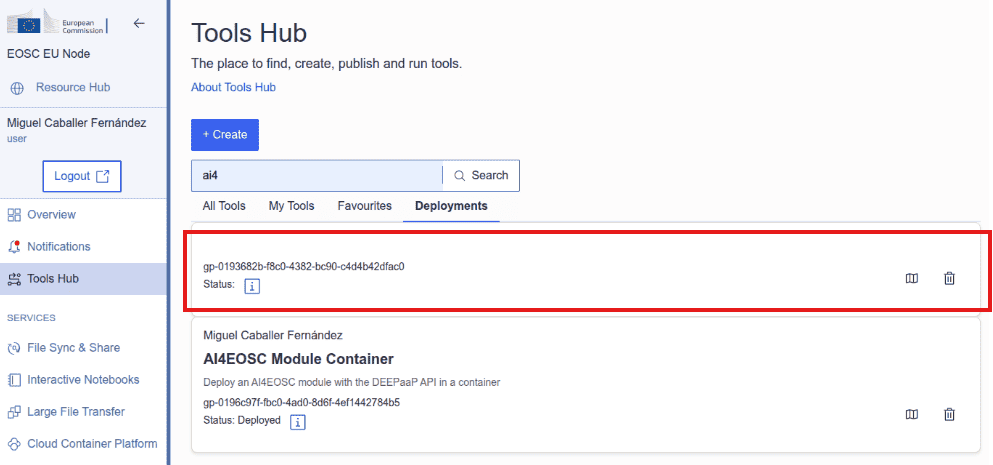
Once ready, the new deployment will available in the Deployments tab of the Tools Hub section.
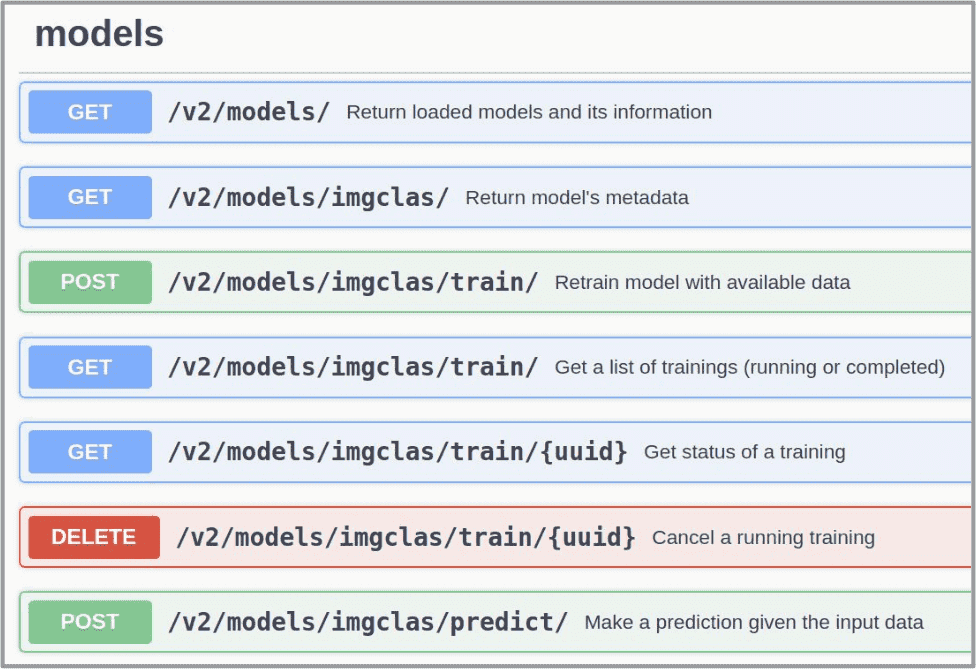
Clicking the Show details button, you will find the deployment endpoint (similar to https://yolo-ai4eosc-9ina.eu-1.open-science-cloud-user-apps.eu/ui). In the endpoint, you will find the DEEPaaS API UI, which you can use to run inference calls on the model.
1.4. Managing the resources
Optionally, you can get additional information about your container. For that, go to the Cloud Container Platform section in the EOSC EU Node dashboard, select your allocated environment and click on View externally.
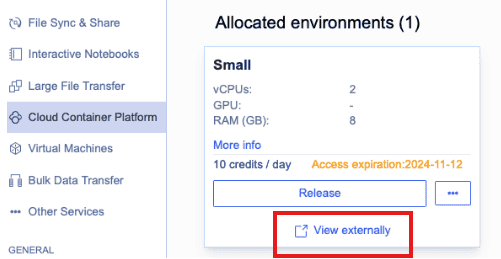
By clicking on this option, you will have access to your allocated environment in the EOSC EU Node Container provider, based in OKD.
Finally, once you have finished using the AI model, you can delete the deployment and release the resources. For that, go to the Deployments section in the Tools Hub section and remove it by clicking on the Trash button.
If you no longer want to deploy additional containers, you should release the allocated project, to avoid using credits. For that, go back again to the Cloud Container Platform section and release your allocated environment by clicking on the Release button. A notification will be sent by the system once the resources have been released.
Option 2: Deploy in a Virtual Machine
2.1. Allocate the computing resources
You need to create your “Default Personal Project”. For this:
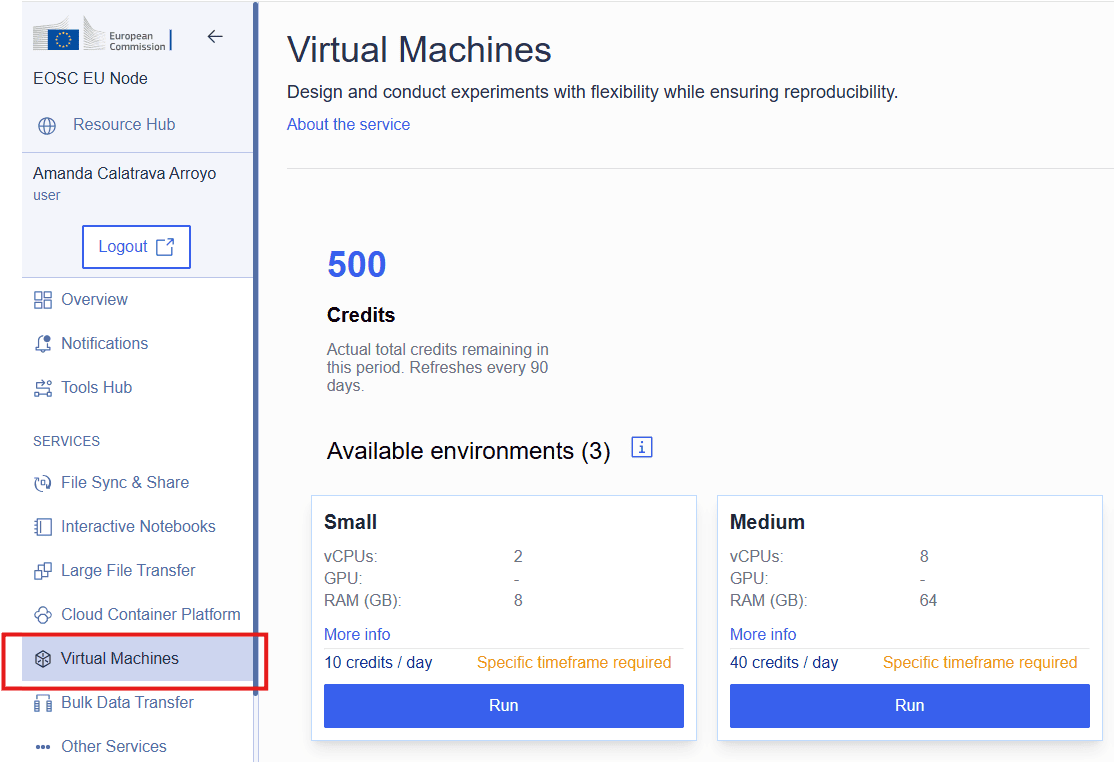
Login into the EOSC EU Node,
In the
Virtual Machinessection (left panel), chose the Small environment. OpenStack creates the corresponding project with the selected quota,Click
Run, choose the time period and pressSubmit.
Notice that in this step what you do is to allocate the resources (quota), but you are not actually deploying them.
2.2. Deploy your tool
In the Tools Hub section (left panel), search for AI4EOSC and select the AI4EOSC Module VM (uploaded by platform developer Miguel Caballer).
Deploy it using the Play button.
You can set custom input values by selecting customize input values and save to new tool checkbox. This allows to configure the deployment parameters, in particular:
the docker model image (available in the Docker value in the Marketplace module details)
the amount of resources (CPU and RAM)
the GPU support, if needed
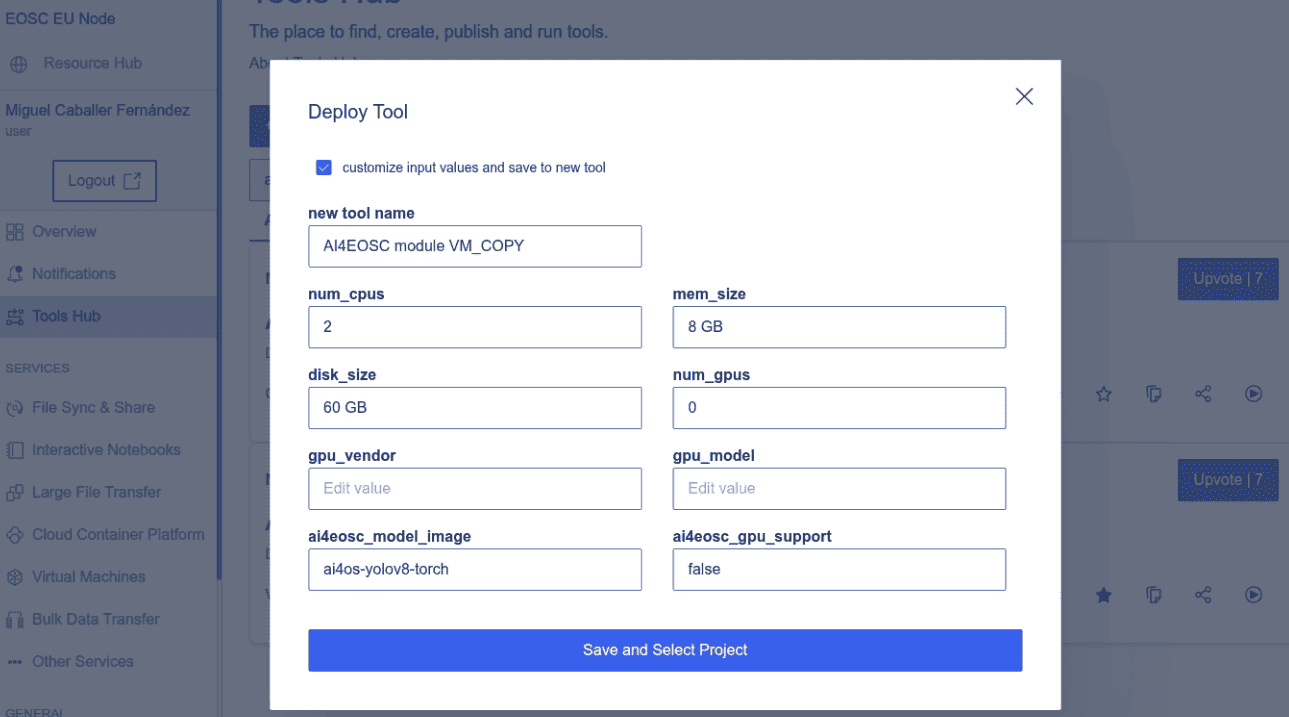
Then click on Save and Select Project. This will create a new tool in your private My Tools list, that you can use for new deployments.
Next, you need to select the “Default Personal Project” created in Step 1, which is linked to the allocated OpenStack project.
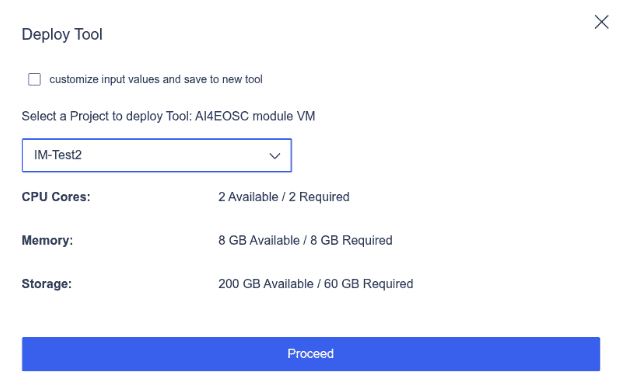
Press the Proceed blue button and you will get a confirmation message about the deployment.
2.3. Access the tool
The new deployment is available in the Deployments tab of the Tools Hub section.
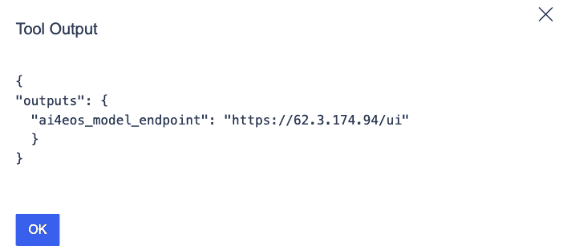
Clicking the Show details button, you will find the deployment endpoint (similar to https://62.3.174.94/ui)
Warning
Please note that, in the case of Virtual Machines, it will take up to 10 minutes to deploy and configure the VM for the endpoint to be ready. You can periodically try to connect until you’ll eventually have access to the Swagger DEEPaaS UI.
In the endpoint, you will find the DEEPaaS API UI, which you can use to run inference calls on the model.
2.4. Managing the resources
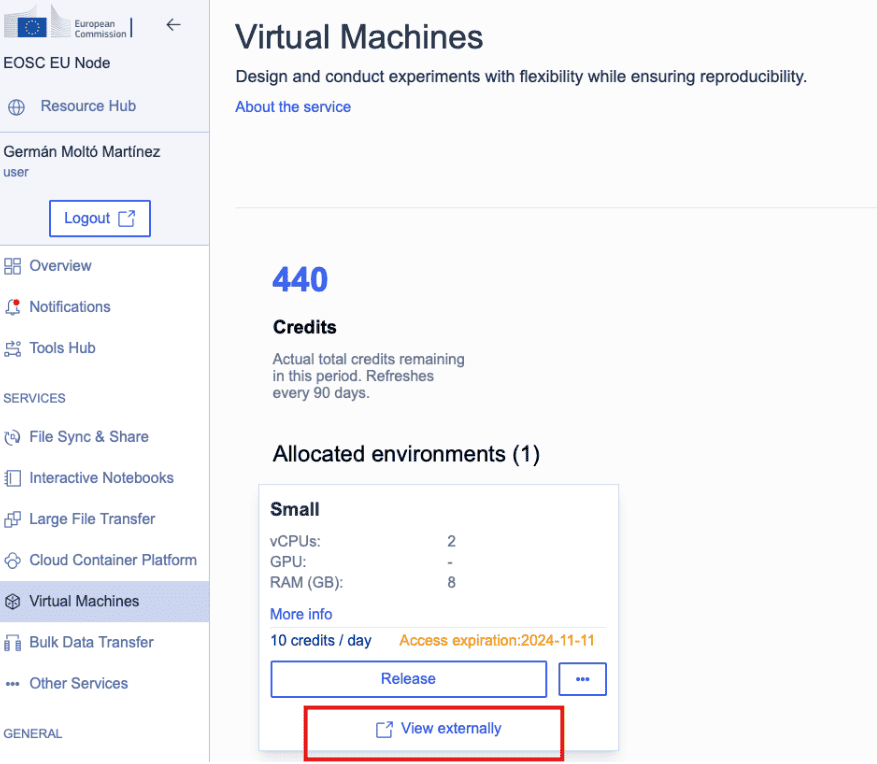
Optionally, you might want to get additional information about your VM. For that, go to the Virtual Machines section in the EOSC EU Node dashboard, select your allocated environment and click on View externally.
By clicking on this option, you will have access to your allocated environment in the OpenStack cloud. Go to the Instances section to see your VM up and running:
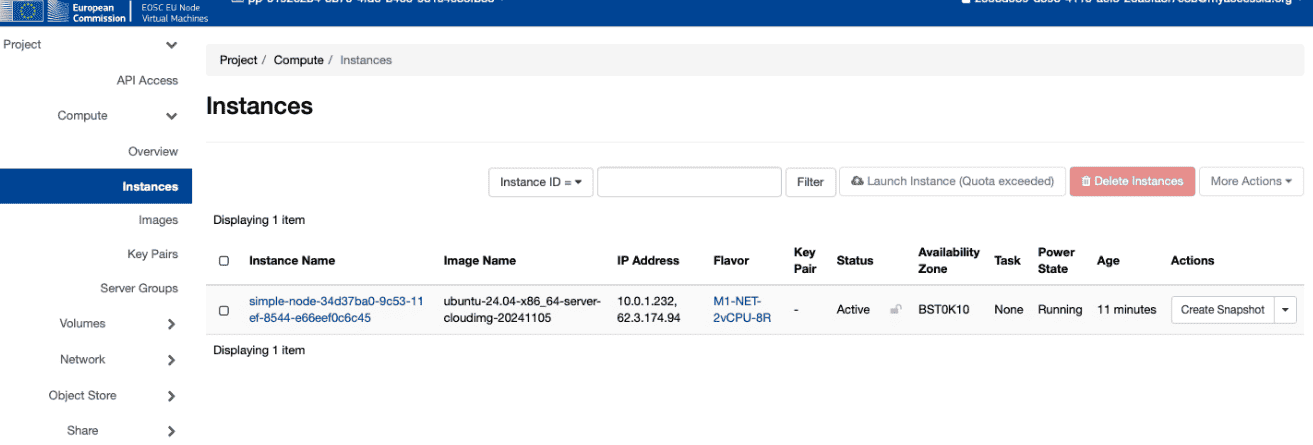
You can obtain further information of your VM by clicking on the Instance Name of your resource.
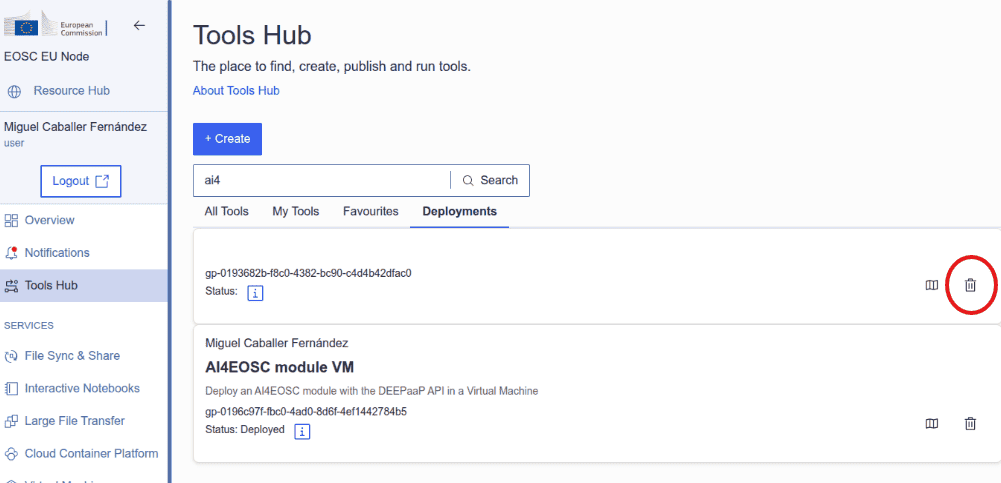
Finally, once you have finished using the AI model, you can delete the deployment and release the resources. For that, go to the Deployments tab in the Tools Hub section and remove it by clicking on the Trash button.
If you no longer want to deploy additional VMs, you should release the allocated project, to avoid using credits. For that, go back again to the Virtual Machines section and release your allocated environment by clicking on the Release button. A notification will be sent by the system once the resources have been released.
More
ㅤ 💡 Further customize the Tool deployment
If you need to further customize the AI4EOSC model deployments, you can modify the reference TOSCA templates that were used to create the Tools in the Tool Hub:
To register this new tool, create a new Tool inside the Tools Hub section of the EOSC EU Node portal.
Fill the form and register the tool. Once registered, you can make it public and share it among the community. Notice the TOSCA Template needs to undergo a security assessment before it appears in the public catalog of Tools. This security assessment is periodically reassessed.