Storage
This section describes how to manage your storage in the platform. If you have any issues with your storage, make sure to check the FAQ (storage) questions.
Our storage provider
For hosting the data necessary for your trainings, we provide access form inside your deployments to the following hosting instances:
AI4EOSC Nextcloud: this is a Nextcloud instance deployed for the AI4EOSC users. It also supports users of partner projects. Each user gets a free 500 GB of storage there.
Account validation
The first time you access this storage, you will need to contact the admins to enable your account.
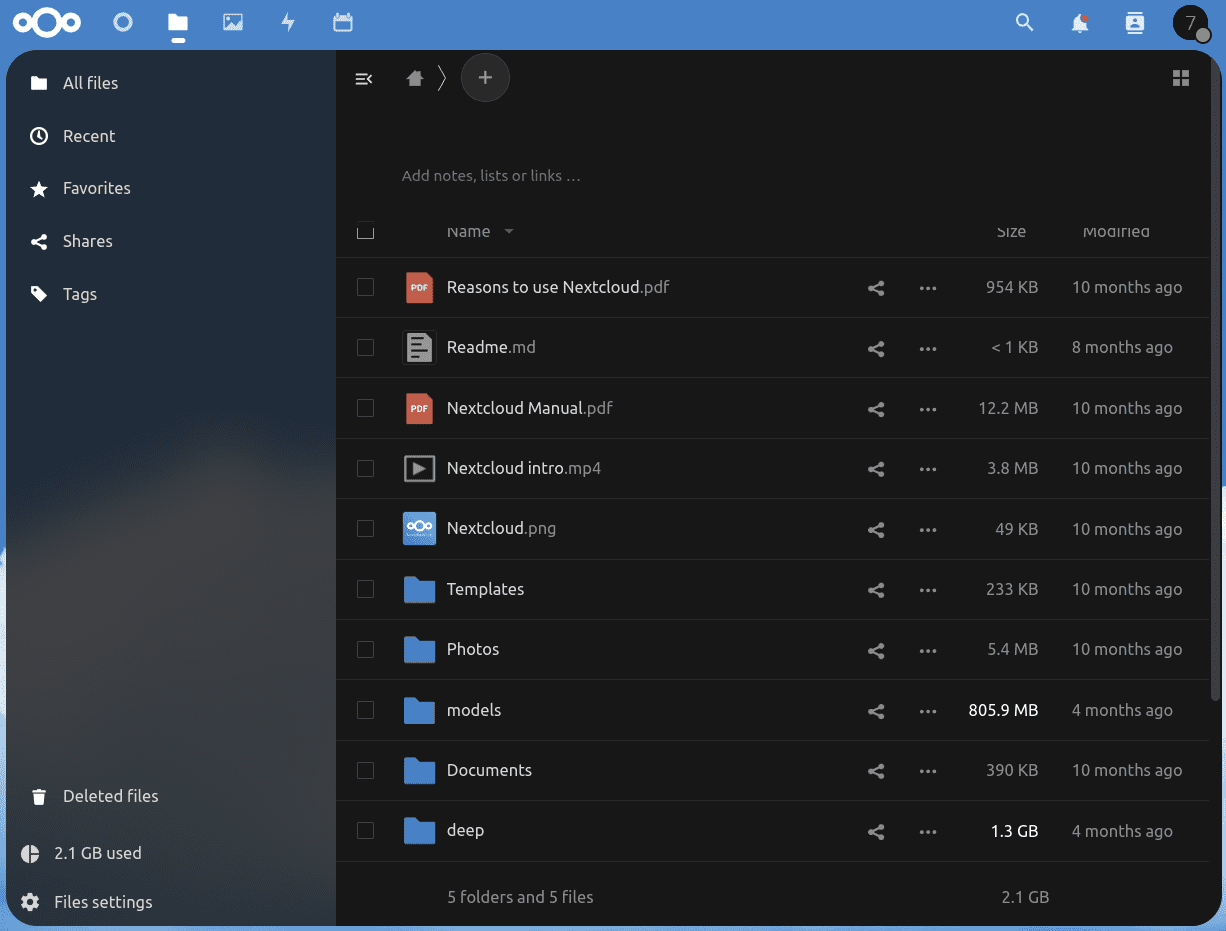
Take into account that you can share specific folders with other users (searching them by email), so if there are several members working on the same project, then only one of them needs to upload the dataset and then share the folder with its coworkers.
Accessing storage from inside your deployment
To be able to access the Nextcloud storage from inside your deployment, you need to properly configure your Storage when creating your deployment.
You have currently two ways of accessing your Nextcloud files from your deployment:
Option 1: Virtual filesystem
When you start a deployment, your data will be automatically available under the /storage path.
This is done by mounting your storage as a virtual filesystem that lets you access the Nextcloud storage via the network.
If you configured the Download of an external dataset the dataset will be available under /storage/ai4os-storage/datasets.
Pros
Automatic syncing: Data is automatically synced with your storage. You are protected against losing data if your deployment unexpectedly fails. This is why we recommend developing code under the
/storagepath, to avoid losing any progress you make.Larger capacity: Since the data in not physically saved in your machine, you are not bounded by the disk of your deployment (usually a couple tens of GBs). You can access the full size of your Nextcloud storage (+500 GB).
Cons
Slower access: Data access is slower, since data is transmitted over the network. This is especially true if your data consists on lots of small files.
Option 2: Copy to local disk
When you deployment starts, you can copy the storage files to your deployment’s local disk. This can be done in several ways:
You can copy them from the
/storagepath to your desired local path.You can copy them directly from Nextcloud using rclone.
You can use VScode or JupyterLab functionalities to upload files from your local computer
Pros
Faster access: Since data is physically stored in the machine, the access is fast, which can help speeding the model training.
Cons
No syncing: Since the data is located only in your deployment, you are not protected against losing data if your deployment unexpectedly fails.
Smaller capacity: Since the data is physically saved in your machine, you are bounded by the disk of your deployment (usually a couple tens of GBs). So you cannot saved very huge datasets.
Storage best practices
After seeing the two ways of accessing you data, the question now is: which one should I choose? 🤔 We recommend:
Using
/storage(option 1) to:develop your code, thus making sure you won’t lose any progress if the deployment unexpectedly fails.
store your raw data, especially when this data is sometimes to big to fit your local disk.
Using local disk (option 2) to:
store your processed data. This data is typically smaller in size and storing in the local disk will allow for faster access during training where the same data has to be revisited multiple times.