Composing AI Inference pipelines with Node-RED
In this document, we will learn about Composing AI Inference pipelines based on OSCAR services with Node-RED, specifically:
how to create inference services in OSCAR,
how to create a new “Flows” instance (based on Node-RED) in the OSCAR platform for AI4EOSC,
how to access the instance and create our first application workflow,
how to deploy a workflow to call inference services deployed in OSCAR,
how to delete the Node-RED instance.
For a complete overview of the Node-RED examples, please refer to the AI4Compose GitHub README.
First of all, let’s understand the key technologies involved in this tutorial:
Node-RED is an open-source visual programming tool. Built on Node.js, it allows users to create event-driven systems by connecting nodes representing different functionalities. With a user-friendly web interface and a rich library of pre-built nodes, Node-RED simplifies the visual composition of pipelines.
OSCAR is an open-source serverless platform to support scalable event-driven computations. From OSCAR v3.6.5, it provides support for deploying a Node-RED instance. More info regarding this new OSCAR feature can be found here .
In the platform, we use Node-Red to visually compose AI model inference pipelines. Specific custom nodes have been created to perform AI model inference on remote OSCAR clusters.
1. Creating inference services in OSCAR
Let’s start by creating an OSCAR service to use it from Node-RED.
1.1. Deploy YOLOv8 service
Go to OSCAR Dashboard and,
in the Services panel, select Create service → FDL. Use the
following configuration:
FDL:
functions:
  oscar:
  - oscar-cluster:
      name: yolov8-node-red
      memory: 4Gi
      cpu: '2.0'
      image: ai4oshub/ai4os-yolov8-torch:latest
      script: script.sh
      log_level: CRITICAL
Script:
#!/bin/bash
RENAMED_FILE="${INPUT_FILE_PATH}.png"
mv "$INPUT_FILE_PATH" "$RENAMED_FILE"
OUTPUT_FILE="$TMP_OUTPUT_DIR/output.png"
deepaas-cli --deepaas_method_output="$OUTPUT_FILE" predict --files "$RENAMED_FILE" --accept image/png 2>&1
echo "Prediction was saved in: $OUTPUT_FILE"
See the our documentation on how to make an inference in OSCAR for more information about creating OSCAR services.
2. Creating our Node-RED instance in OSCAR
In the OSCAR Dashboard, go to the
Flowspanel and then clickNew.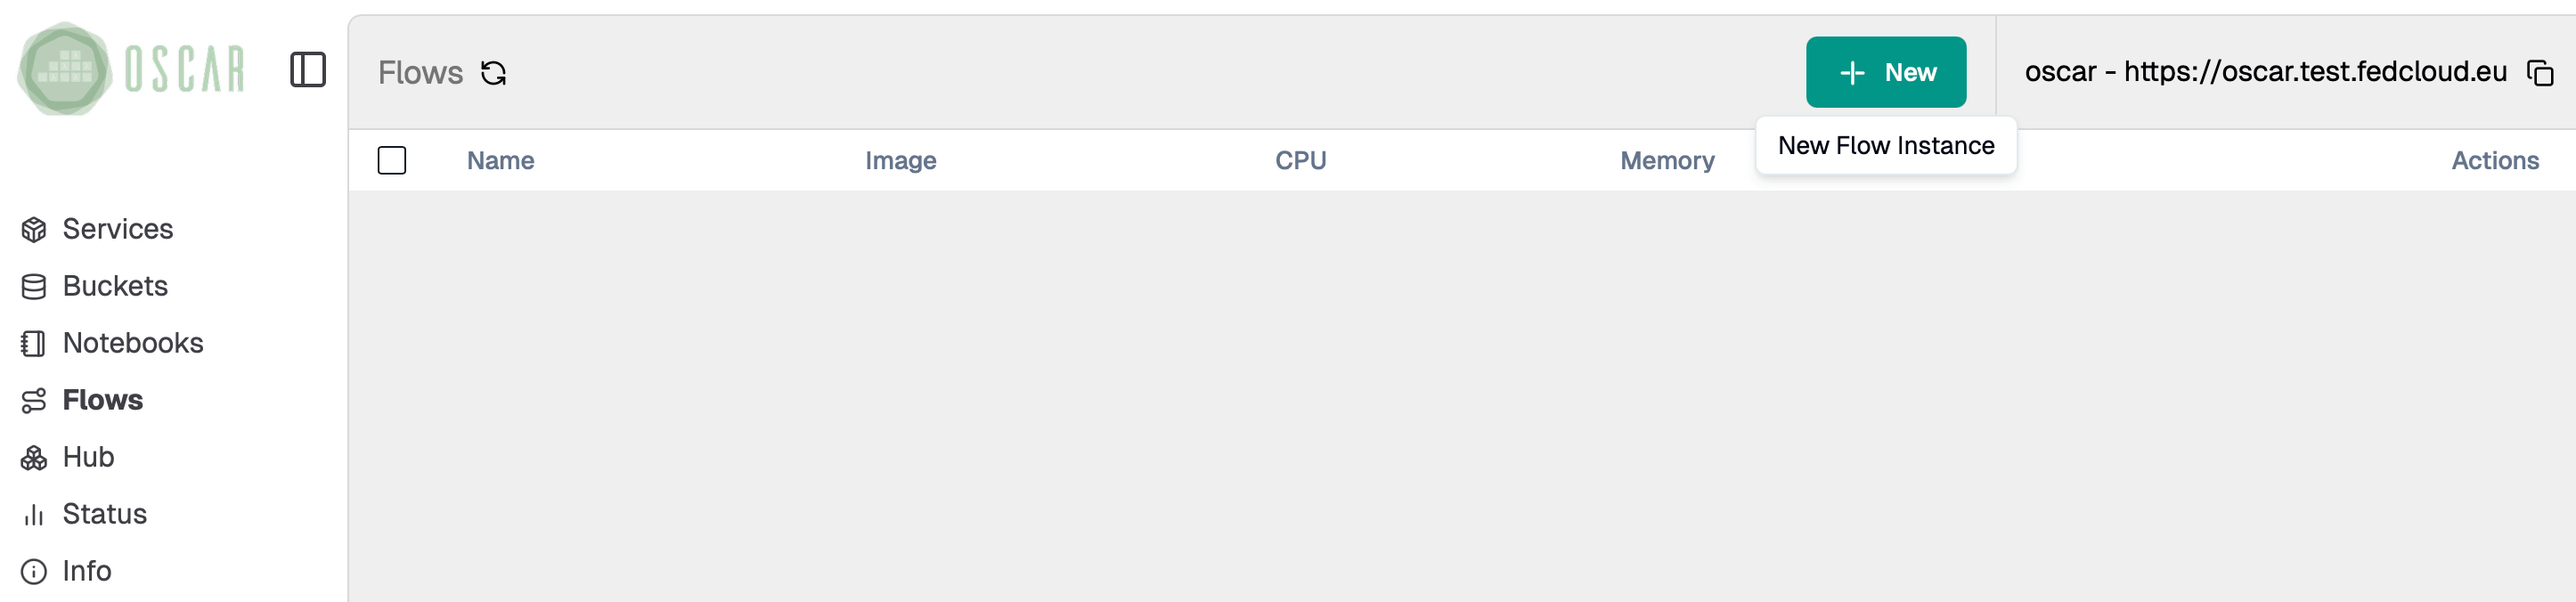
Enter the admin password that you will be asked to access later on this instance of Node-RED, and select or create a Bucket.

After deploying Node-RED, we access its user interface.

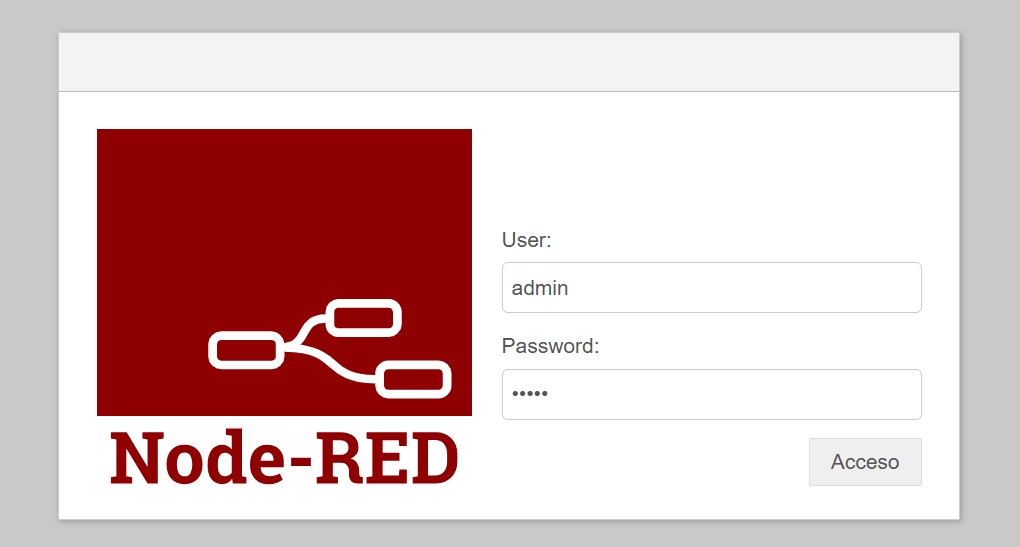
3. Accessing the Node-RED instance
Once the Node-RED instance is up and running, you can log in with your credentials
(the user is always admin).
4. Creating a workflow in Node-Red
We are going to showcase the usage of Node-RED with a simple example that uses the YOLO model. However, if you want to see some other examples, visit the AI4Compose repository.
4.1. Designing and creating the workflow
Let’s create a workflow that fetches an image from the Internet, makes a request to the YOLO service and visualizes the result.
We need the following list of components from the Node-RED sidebar menu:
Common →
injectnodeNetwork →
HTTP requestnodeOutput →
imagenodeOSCAR →
OSCAR YOLO8node

Drag and drop the boxes to the canvas and then connect the components as shown:

Now we need to configure the components. To configure the HTTP request
node double-click on it:
URL: URL of an image you want to analyze with YOLO (for example, you can use this image)Payload:Send as request bodyReturn: A binary buffer

Configure the OSCAR YOLO8 node:
Server: URL of the OSCAR cluster. You can get it from OSCAR Dashboard →Info(Sidebar panel) →EndpointService Name:yolov8-node-redToken: Obtain the token from OSCAR Dashboard →Info(Sidebar panel) →Access token

4.2. Testing the workflow
After configuring your workflow, you can test it in the Node-RED Editor:
click Deploy (top right corner) and then click on the inject node:

You should see the result as indicated below.

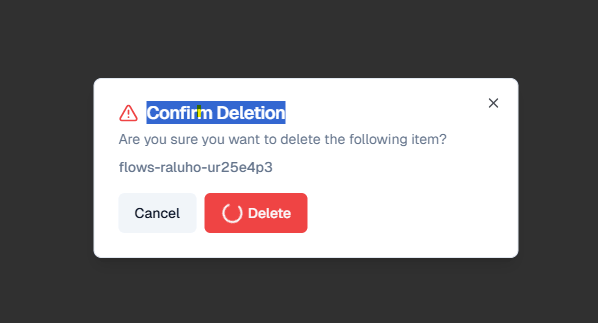
5. How to delete a Node-Red instance
To delete an instance, you have to click on the Delete button and confirm the operation.

The MinIO bucket remains available; however, it is a good practice to ensure that you have backed up any important data or configurations before deleting an instance.