Deploy your own LLM chatbot
Requirements
🔒 You need a platform account with full access level.
In this tutorial, we will guide you on how to deploy your own LLM instance in the platform.
For the moment, due to resource constraints, this tool allows to deploy only small LLMs that can fit in NVIDIA T4s. If you want to use bigger LLMs on faster resources, please use the platform LLM where you can find a detailed comparison between the two options!
Deploying the LLM
In the Dashboard Marketplace, go to the LLM catalog and click on the model card you want to deploy. Alternatively, you can go to: Tools catalog → Deploy your LLM → Deploy.
Once in the configuration page, the workflow for deploying the LLM is similar to the one for deploying a module. In this particular case, during the LLM configuration phase you will need to pay attention to:
type: choose what to you want to deploy. Options are:both: deploy both the backend and the UI,vllm: deploy only the backend,open-webui: deploy only the UI,
LLM modelthis is the particular model you want to deploy.ㅤ 💡 What is the best model for my needs?
For the time being, due to limitations in resources (deployments are made in NVIDIA T4s) we only support small models (eg. DeepSeek-R1-Distill-Qwen-1.5B) or medium models that have been quantized (eg. Qwen2.5-7B-Instruct-AWQ).
Medium-size quantized models are usually more accurate although they can have slightly slower inference speeds (due to the de-quantization process). We recommend using those.
Among the catalog of models we provide, there are models specialized in solving coding tasks or maths problems, so depending on your usecase you might want to select those.
UI email,UI password: these are the credentials to log to the UI. By default, we use your user email from the platform.(Optional)
HF token: Using some models might require that you provide a valid HuggingFace token to deploy. For example, to use LLama models you must login to HuggingFace and accept their terms and conditions. Once this is done, you can automatically generate a Huggingface token to use Llama models in our platform.(Optional)
API key/url: if you choose to deploy only the UI, you must provide the endpoint and key of an OpenAI compatible endpoint, that the UI can connect to.
Using the LLM
In the deployments list you will be able to see your newly created LLM instance.
Clicking the Quick access button, you will directly enter the Open-WebUI login screen.
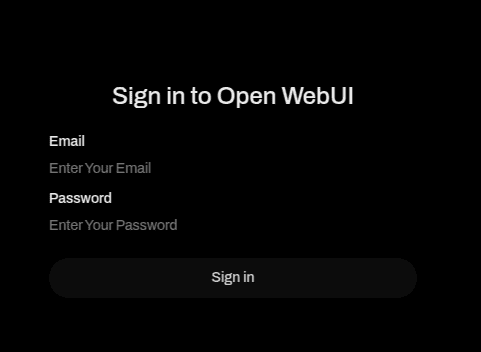
The enter you UI email and UI password and voilá, you’re in!
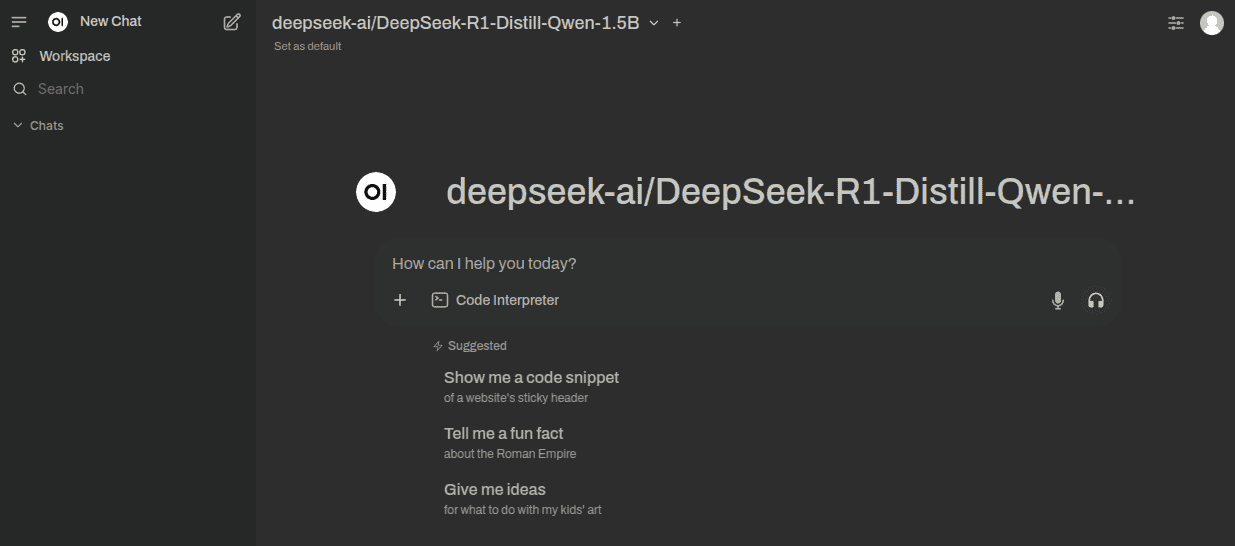
You are the admin of the instance, so you can create new users for other people in your team.
Go to the Open-WebUI documentation to further configure your instance. For example, you can:
customize the UI appearance: since current models do not have vision capabilities, so you can disable image upload for users going to
Admin Panel→Settings→Models→<model-name>→Capabilities→Visioncreate your own Knowledge Bases as persistent memory banks,
use Functions to create your own agents that use custom prompts, custom Knowledge Bases, and custom input/output filtering,
integrate the model with your own services (use as code assistant in VSCode, use from Python scripts, etc).